


 Have you ever had an infection in your beer? An introduction of a living organism that was not supposed to be there? One so foul, so wretched, that it ate all your digestible sugars and gave no love other than its toxic gas? Expelling all across your upper lip when you lean in for a big draw? No?
 To begin, Berliner Weisse is a German style wheat ale that is generally low in alcohol-by-volume and is very light in color and sour in taste. The ingredients for this batch are as follows: 2 parts wheat malt, 3 parts 2-row domestic barley, 1oz of Liberty hops, homemade lacto-bacillus and a general ale yeast.
 Historically, sour ales were naturally inoculated with wild yeast in open fermenters left outside, on rooftops, in barns, bakeries, abbeys and now my kitchen. These wild yeasts are all around us, at all times, and will gladly take a free lunch. However this is not going to produce a great beer all the time. If you have ever had an infected batch, that is the example of why wild yeast or bacteria is not always a welcomed helper. But beer styles are a funny thing, a brown ale with a hint of sour is totally uncalled for and would be rejected by a beer judge, however a Flander's red ale that tastes like sour gummy worms is applauded and marveled at.
 Here's how it works: A week before brew day, I prepared a small jar with crushed 2row domestic and 130F degree water, placed tin foil over top and let it work with whatever happened to be trapped inside. Mold began to form within 2 days and a gray pellicule arrived by day 5. This recipe was a no-boil batch, meaning instead of sparging from the mash-tun into the brew kettle, the wort was run directly into the fermenter. Grains were doughed at 150F for 75 minutes with the introduction of boiled Liberty hop tea. Sparging up to the 5.5 gallon mark on the carboy and waiting to cool took much longer than it should have due to the difficulty of reducing temperature for pitching range without a wortchiller. Once cooled the moldy liquid from the lactobacillus starter was introduced. My kitchen smells awful.
 Currently the brew is bubbling and expelling funk, in 2 days I will introduce an ale yeast that will help digest the bulk of the sugars that are undigestible for the lacto. This is intended to also impart estery flavors beyond the soured characters working right now. Many homebrew shops sell a cultured lacto strain in smackpack form. However, the great adventure of homebrewing is about utilizing the context in which you brew. This batch will taste kinda like my apartment, if you think thats gross then you're not invited.
 Another option for making a style such as this and many other great sour ales is to get acidulated malt, or make your own. Instead of utilizing the yeast to make the souring quality, the malt itself is left to stand in warm temperatures for natural yeast to make it turn. Then it is added to the boil or mash-tun depending on your setup.
 As mentioned in the previous post, I had prepared a chocolate porter for the first time in my brewing history. I was very pleased with the results and will definitely be using chocolate in future batches and in different combinations. After a success one tends to try and keep going on that path. The past two weeks have seen three different batches brewed using first time ingredients largely from the produce and herbal sections at Organic Planet.
 Lowbush Vice
 n using fruit such as this in your beer, it is important to prevent the skins from breaking and keeping all amounts of pectin out of the wort. Mind you, the inside of the blueberry is where the flavor is, but if making a mead or fruit wine you would then need to uncomplicate the yeast's job by chemically stabilizing the amount of acids present, and that is far too much chemistry work for this first shot at blueberry beer.
 Licorice Lager
 Jupiter
 hing method was used for the bulk 2-row pale malt, black patent malt, chocolate malt, and 120-lovibond crystal malt as the specialty grains. Fuggles for boil and Goldings for aroma make this classic brown ale as good as I have tasted. One new addition to this style which I seem to make better than any others - not saying a whole hell of a lot - was the 1tsp of gypsum to the mash. When making regional styles of beer, the brewer must account for contextual flavors that go beyond the flare notes, in this case its replicating the waters of Burton upon Trent, a historic brewing
 egion of England. The traditional brewing waters of England have a lower ph level than my tap water or even the Red River can produce. An addition such as this seems to emphasize the desire to meet a standard because not living in England or back in the early 1800s before brewing water was treated is to recognize that this type of beer is historical, and must adhere to historical factors.
 Over the past 6 months, I managed to see a few things and brew a few things. Most brews were standard and uninspiring. When I look back and see the lack of photos taken, I am reminded that the everyday brewing processes were once so new that they required documentation at every turn. Now the process is just part of the everyday. I blame the kegging for this. You begin to fill the need to just fill the thing and have something on hand. Meanwhile the bottling process is greatly decreased (for the good) but the ratios of bottling sugars begin to vary due to the different amounts of young beer left from a 3gal keg.
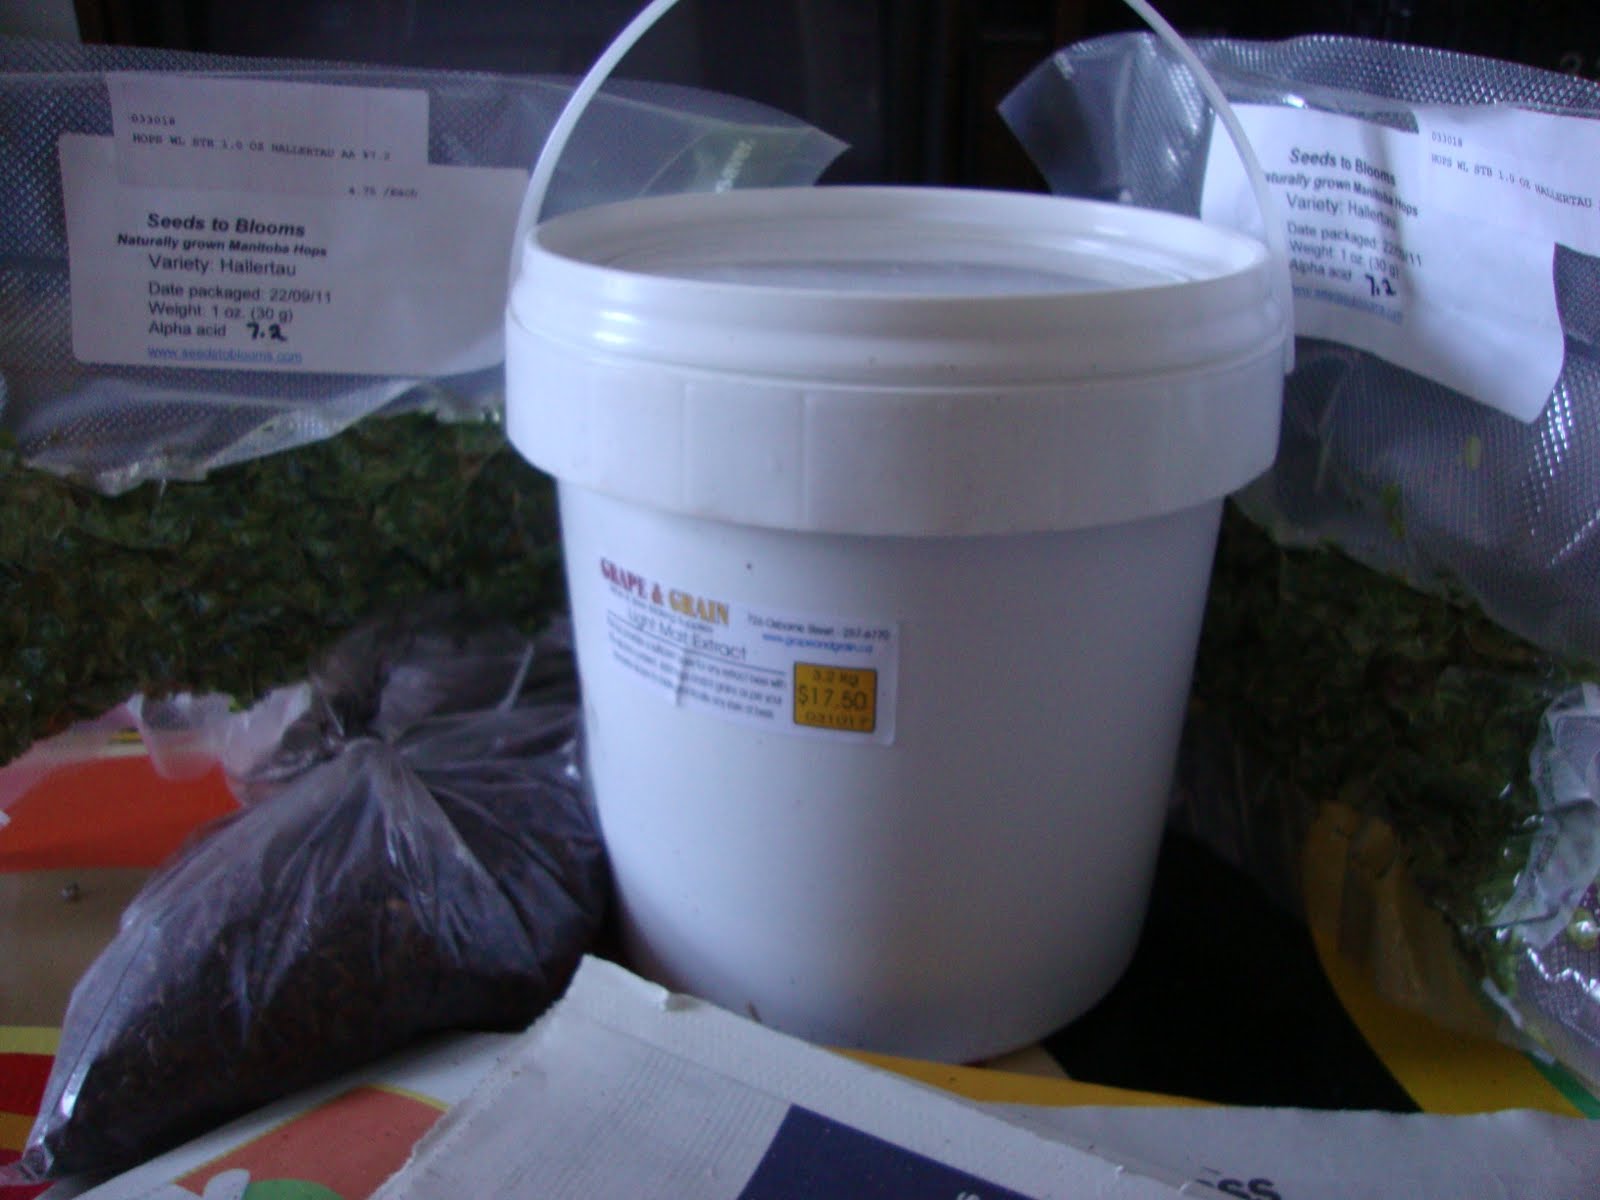 Winter brings cold, and when its cold, the brewer brings out the darkness to counter the white. Bock's are high powered lagers with dark characters but often more on the brown to red side. This batch to the left is the fixins for Mr. Spock, an ale version of a bock. After trying to cultivate a lager strain that died on me before it hit the yeast starter, I had to use what was on hand. After three different strains of yeast, it started to bubble. Rapidly, music to the ears.
 This is a concoction based loosely on a recipe in Papazian's Joy of Homebrewing. His Sparrow Hawk Porter was the adequate base for what I am calling Dark Port Hawk. Combining the darkness of Black Patent Malt, Dark LME, Unsweetened Bakers Chocolate and Mayordomo Vanilla Hot Chocolate Cubes from Oaxaca Mexico, I am expecting great things.
 st time for me using chocolate and after reading several suggestions to use cocoa powder, im assuming the chocolate will melt and dissolve and not stick to the pot. Heres to experimenting.
 I had heard of people making chili pepper beer before and thought it would be fun just to say I've done it and to grasp what that flavor would impart to beer. My local liquor stores are quite bad when it comes to getting a diverse range of craft brews, particularly those that are common place throughout the US. Only this summer did they receive Rogue's Chipotle Ale
 also see what sort of firepower I could add. My recipe research said that Serrano peppers or small chili peppers would be best. However, as mentioned elsewhere - I will take what I can get - my local organic grocer only had Anaheim peppers. Honkin huge ones!
 about 5 days of rigorous primary fermentation. As shown above, I took 5 large Anaheim peppers and removed the stems. I roasted them in the toaster oven for 12 minutes until the kitchen started to smell roasty. The skin was soft and starting to brown slightly. The purpose of the baking is to both kill any unwanted organism that could be on them as well as to impart that roasted flavor. Once cooled I cut them in half and dropped them into the carboy. Racking on top was the easy part, racking off after 9 days however was very hard as seeds and skin had come off and were sticking to the siphon.


 ol to pesticides. Similar to the damages to your body, chemicals that are intended to kill bugs should not be included in your beer as they will kill your yeast. Always buy organic, or better yet, grow it yourself! Zesting far more lemon than called for the in the recipe, I wanted this beer to be as crisp and citrusy as possible. The other hazard in adding fruit, vegetables, hops, etc. to the secondary is the risk of clogging your siphon. Small particulate matter or large chunks of food can really be annoying when trying to get the beer into its next receptacle. That includes from bottle to glass and tap to glass. Many brewers have debated the strategies of dry-hopping their ales with as minimal interference to the segues as possible. The last thing you want is a dip-tube or keg-line clogged with a cluster of bitter hops, unless your into that sort of thing.
 Primary
  Secondary
  Kegging
 So, I'm going to begin from the end with this batch description. As the picture describes and reads, this Silver Dollar Porter was a bit of a nightmare. My first All-Grain batch of the Apartment Ber series. As I knew, dealing with 10+ pounds of grain was always going to be a problem in my tiny kitchen, with no wiggle room for error and no compost within 10 feet of me.

 The biggest struggle was dealing with the spent grains. Rather than carrying the awkward mash-tun with soaked grains - making it about 50lbs - down the block to the nearest compost bin, I decided to empty it into bags and buckets. I will Never use bags again. Even double bagging didn't stop the wort from leaking all over the place. After thinking the grains were contained, i would turn my back for a second and the runnings would be trailing the baseboards. If i had a resident cow in the spare room, things would be easy. Despite all this, the batch is fermenting away. Increased sediment in the primary is expected due to the husks and grain pieces coming along the way as well as the increased yeast I have been pitching with. If this becomes an issue, most brewers lower the temperature of their fermentation space which knocks down a lot of the yeast so that it doesn't carry over to the secondary or the bottle. Also Irish moss is effective for this, the method I prefer.

 This shot above is something that I hadn't noticed before about the wonder of yeast, but, basically they get finicky by the temperatures they interact with, and in this instance the top of the wort was too warm for them whereas the bottom was more suitable so they flocked down there and created a layer to fortify themselves in until the temperature evened out. Curious little fellers. Pitching the yeast into too warm of wort may not kill the yeast, but they can often excrete some off flavors in disgust at your hasty actions, be careful.
 batch. Keeping a jar full at room temperature during the brewing of the new batch, the yeast is still viable and ready to pitch as soon as the wort has been cooled. A few considerations to keep in mind when tasting the finished beer: the sediment brought over from batch to batch not only includes the yeast but also hops and grain sediment. The small amount of these things should not overpower any characteristics of the new batch but may become what would be called a 'house character' to the beer. IF all these beers end up tasting the same, I will make some changes to how i separate the sediment from the yeast, but until then, healthy yeast is always preferred to a smack pack that has been carried over distances and possibly out dated. One of the great qualities of doing this yeast method is the amazingly rapid activation. W
 ithin 3 hours bubbles start to occur in the blow-off bucket as compared to the 10-12 hours from a half cup of yeast in the smack pack. More yeast means more activity means better sugar conversion. Some of the downsides is that cleanup is far more intensive as the blow-off hose is definitely required with this much yeast going in. Eruptions and purging as can be seen in that bucket! Also when racking the beer, alot more sediment comes over in the siphon, however this is not a bad thing as the occasional batch is under-yeasted if anything by the time it gets to the bottle. Cheers to boisterousness.
 *TASTERS UPDATE*
 se if you have seen my kitchen, its a crawl space which cannot be cohabitated by both brewers and dish piles. I took the risk of using Winnipeg tap water, though run through the Brita filter. I figure if Half Pints can do it, why cant I? Also, after seeing two batches made by friends turn out the right way, I have no cause to fear. This kit was an extract kit with very few grains included. The bulk of the kit (which is the priciest on the shelf last time I checked) was invested in two different jugs of LME and a total of 6 bags hops! Warrior hops, 'I think I love ya'. The boil level was high due to my lack of estimate on just how much the 9.9lbs of LME would raise the water. But no boil overs to my relief. Warrior hops were employed for the full 60 minutes as bittering, and a regiment of 5 servings of a mixture of Simcoe/Amarillo hops every 5 minutes for the last 20 of the boil to add aroma. The brewhouse was smelling hot and heavy.
 a bit stressful. 12 hours later, bubbling away and hop resins crawling to the upper walls of the carboy. In 5-7 days, will transfer to the secondary and dry hop the bejesus out of it with the remaining 3ozs of hops. American IPA, All The Way!
 That's a bear, for the record.


