
So, I'm going to begin from the end with this batch description. As the picture describes and reads, this Silver Dollar Porter was a bit of a nightmare. My first All-Grain batch of the Apartment Ber series. As I knew, dealing with 10+ pounds of grain was always going to be a problem in my tiny kitchen, with no wiggle room for error and no compost within 10 feet of me.

As described
here, All-Grain requires a much more intensive process of both temperature and liquid utilization. In order to get the most out of your malts, you want to boil as much of the sweet wort runnings from the mash-tun as you can. Because I don't have a turkey fryer or a 7 gallon pot...I decided to boil three different pots getting as close to 4-5 gallons as possible. This allows for better hop utilization and longer breakdowns of the sugars produced from the starchy malt. The voluminous boil makes the better beer. This method however made the process stressful, humid and fevered. I hope everyone can taste a little bit of me in each bottle! (Ah the magic of not being bound by state sanitation regulations) The top picture is the primary chilling in an ice bath in the sink using the 'wet t-shirt' method. Because I boiled so much more liquid, the longer it will take to reduce the temp for pitching the yeast. By resting the primary in a cold bath and wrapping a soaked shirt around the top and keeping the waist end in the water, heat is wicked away as the water will always remain colder than the source it is covering.

To operate this process successfully, divide your hops by eye into the number of pots you will be using. You don't want to over-hop one pot versus the other where the malts will be stronger than the hops and weaker in the other. In addition to this, because of the metallic content of the pots used and the surface area of each, they will come to a boil at different times. In my case, i used two timers, one for the smaller pots and the other for the larger. Maintaining your hop schedule is key.
The batch here is a porter, dark in color and slightly lighter in body than a stout but still very dark with higher IBU's. The brewing process itself went off without a hitch despite the increase of scalding hot liquid around me. The original gravity was nailed, the temperatures for mashing were consistent, and the runnings produced just enough to get what should be a 5.5% abv.

The biggest struggle was dealing with the spent grains. Rather than carrying the awkward mash-tun with soaked grains - making it about 50lbs - down the block to the nearest compost bin, I decided to empty it into bags and buckets. I will Never use bags again. Even double bagging didn't stop the wort from leaking all over the place. After thinking the grains were contained, i would turn my back for a second and the runnings would be trailing the baseboards. If i had a resident cow in the spare room, things would be easy. Despite all this, the batch is fermenting away. Increased sediment in the primary is expected due to the husks and grain pieces coming along the way as well as the increased yeast I have been pitching with. If this becomes an issue, most brewers lower the temperature of their fermentation space which knocks down a lot of the yeast so that it doesn't carry over to the secondary or the bottle. Also Irish moss is effective for this, the method I prefer.
I don't believe I will be All-Grain brewing in the Apartment Ber series again, atleast not until I find that cow. A cautionary tale.
*UPDATE* Despite all the tedious work involved in making this beer in such a small space, it took 2nd place at the Brew-It-Yourself competition in June of 2011.


 Over the past 6 months, I managed to see a few things and brew a few things. Most brews were standard and uninspiring. When I look back and see the lack of photos taken, I am reminded that the everyday brewing processes were once so new that they required documentation at every turn. Now the process is just part of the everyday. I blame the kegging for this. You begin to fill the need to just fill the thing and have something on hand. Meanwhile the bottling process is greatly decreased (for the good) but the ratios of bottling sugars begin to vary due to the different amounts of young beer left from a 3gal keg.
 Winter brings cold, and when its cold, the brewer brings out the darkness to counter the white. Bock's are high powered lagers with dark characters but often more on the brown to red side. This batch to the left is the fixins for Mr. Spock, an ale version of a bock. After trying to cultivate a lager strain that died on me before it hit the yeast starter, I had to use what was on hand. After three different strains of yeast, it started to bubble. Rapidly, music to the ears.
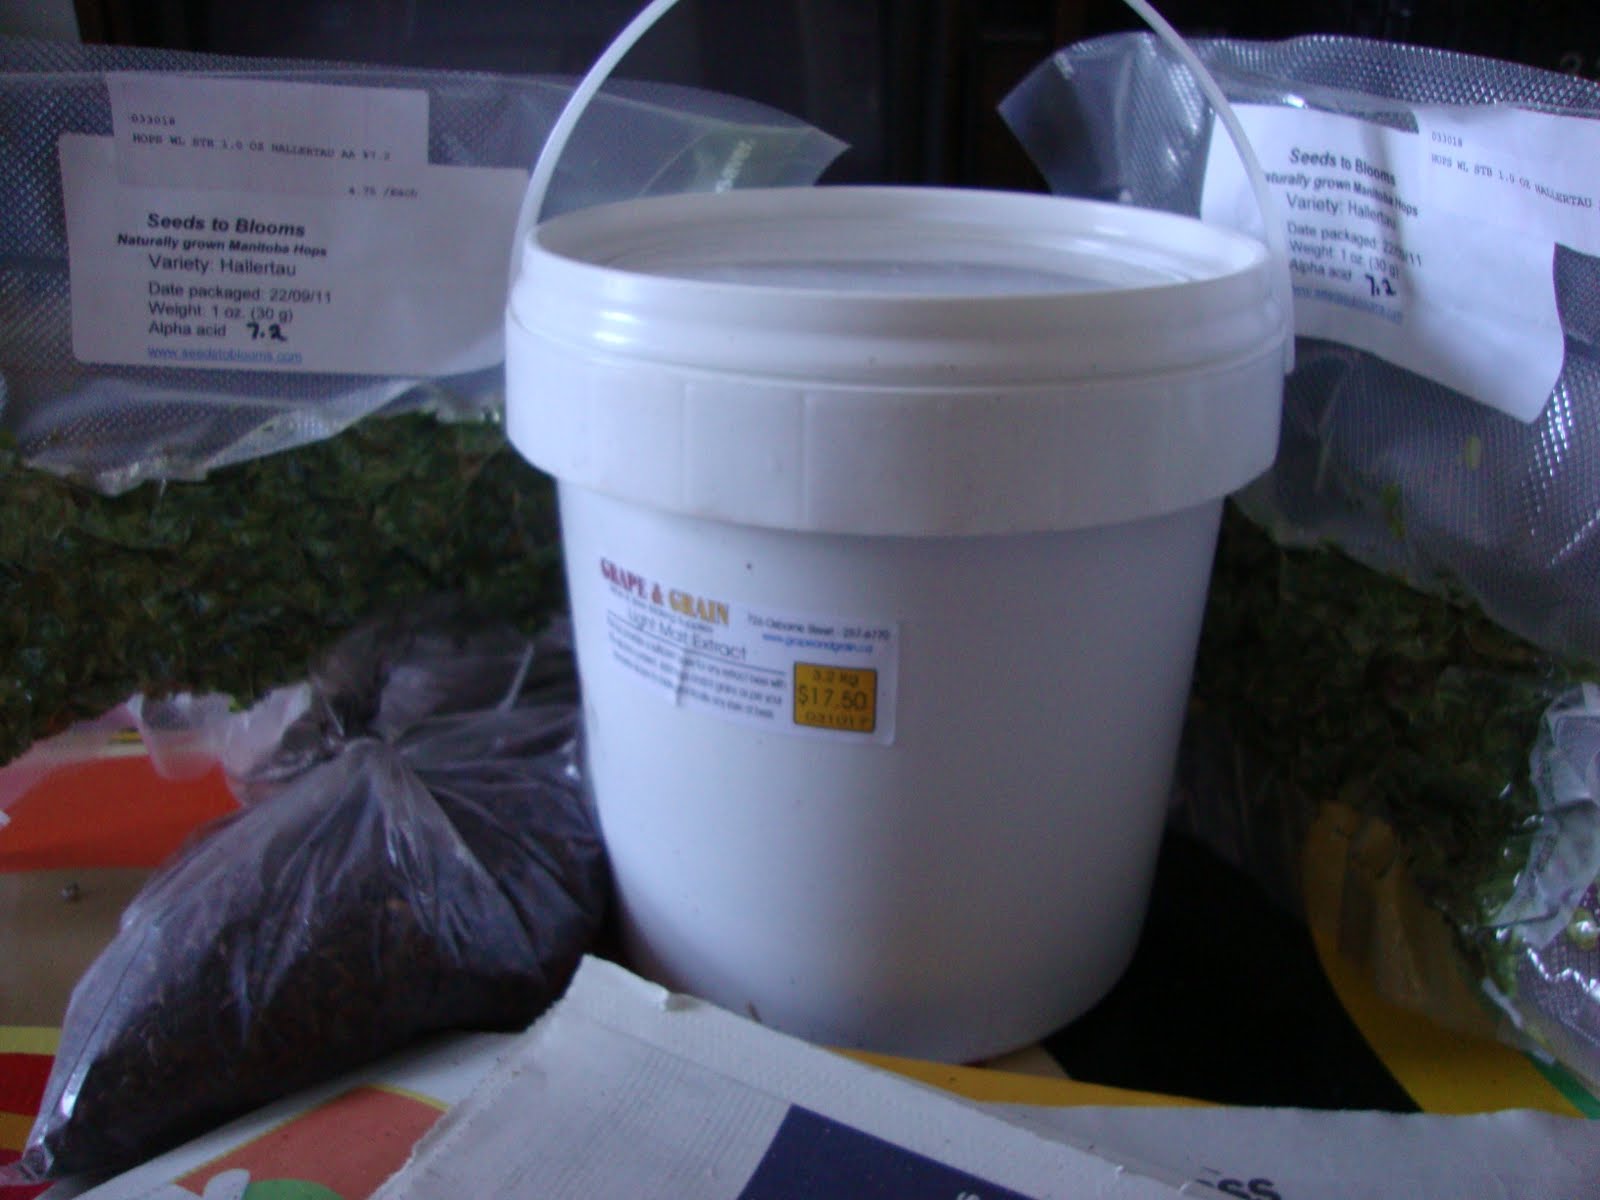
 This is a concoction based loosely on a recipe in Papazian's Joy of Homebrewing. His Sparrow Hawk Porter was the adequate base for what I am calling Dark Port Hawk. Combining the darkness of Black Patent Malt, Dark LME, Unsweetened Bakers Chocolate and Mayordomo Vanilla Hot Chocolate Cubes from Oaxaca Mexico, I am expecting great things.
 st time for me using chocolate and after reading several suggestions to use cocoa powder, im assuming the chocolate will melt and dissolve and not stick to the pot. Heres to experimenting.
 So, I'm going to begin from the end with this batch description. As the picture describes and reads, this Silver Dollar Porter was a bit of a nightmare. My first All-Grain batch of the Apartment Ber series. As I knew, dealing with 10+ pounds of grain was always going to be a problem in my tiny kitchen, with no wiggle room for error and no compost within 10 feet of me.

 The biggest struggle was dealing with the spent grains. Rather than carrying the awkward mash-tun with soaked grains - making it about 50lbs - down the block to the nearest compost bin, I decided to empty it into bags and buckets. I will Never use bags again. Even double bagging didn't stop the wort from leaking all over the place. After thinking the grains were contained, i would turn my back for a second and the runnings would be trailing the baseboards. If i had a resident cow in the spare room, things would be easy. Despite all this, the batch is fermenting away. Increased sediment in the primary is expected due to the husks and grain pieces coming along the way as well as the increased yeast I have been pitching with. If this becomes an issue, most brewers lower the temperature of their fermentation space which knocks down a lot of the yeast so that it doesn't carry over to the secondary or the bottle. Also Irish moss is effective for this, the method I prefer.

 This shot above is something that I hadn't noticed before about the wonder of yeast, but, basically they get finicky by the temperatures they interact with, and in this instance the top of the wort was too warm for them whereas the bottom was more suitable so they flocked down there and created a layer to fortify themselves in until the temperature evened out. Curious little fellers. Pitching the yeast into too warm of wort may not kill the yeast, but they can often excrete some off flavors in disgust at your hasty actions, be careful.
 batch. Keeping a jar full at room temperature during the brewing of the new batch, the yeast is still viable and ready to pitch as soon as the wort has been cooled. A few considerations to keep in mind when tasting the finished beer: the sediment brought over from batch to batch not only includes the yeast but also hops and grain sediment. The small amount of these things should not overpower any characteristics of the new batch but may become what would be called a 'house character' to the beer. IF all these beers end up tasting the same, I will make some changes to how i separate the sediment from the yeast, but until then, healthy yeast is always preferred to a smack pack that has been carried over distances and possibly out dated. One of the great qualities of doing this yeast method is the amazingly rapid activation. W
 ithin 3 hours bubbles start to occur in the blow-off bucket as compared to the 10-12 hours from a half cup of yeast in the smack pack. More yeast means more activity means better sugar conversion. Some of the downsides is that cleanup is far more intensive as the blow-off hose is definitely required with this much yeast going in. Eruptions and purging as can be seen in that bucket! Also when racking the beer, alot more sediment comes over in the siphon, however this is not a bad thing as the occasional batch is under-yeasted if anything by the time it gets to the bottle. Cheers to boisterousness.


